

Key Takeaways
Why Preparation Determines the Final Result
Most paint jobs that look disappointing after drying share a common cause: skipped or rushed preparation. Paint applied over dirty, glossy, or damaged surfaces won't bond well - it may peel within months or reveal every imperfection once light catches the wall at an angle. Investing time in prep work before you open a can is the single most reliable way to achieve a clean, durable finish.
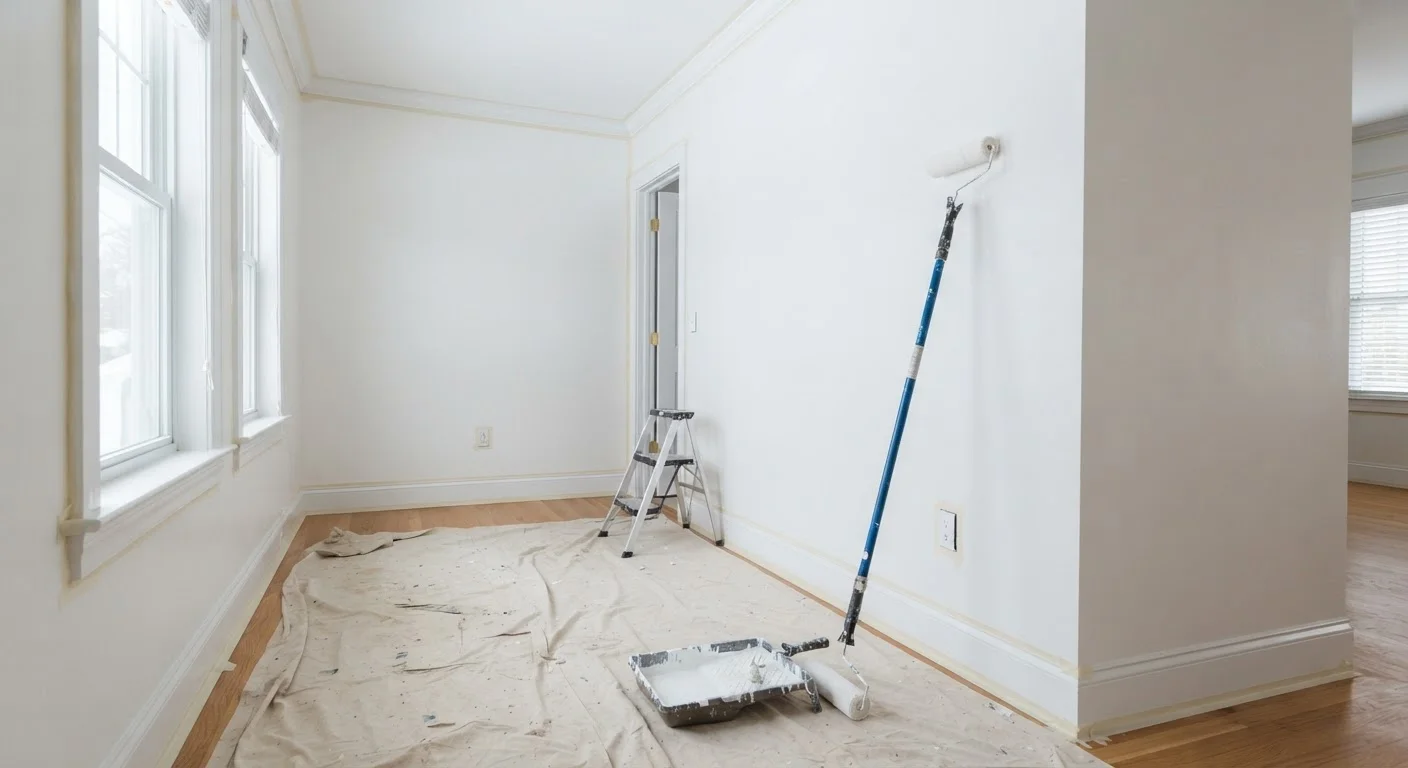
Start by moving furniture away from walls and laying drop cloths across the floor. Remove outlet covers and switch plates; they're easy to accidentally paint over and harder to clean afterward. Inspect each wall carefully in raking light - a flashlight held close to the surface and aimed sideways - to reveal dents, nail holes, hairline cracks, and ridges that are invisible under flat overhead lighting.
Use Raking Light to Find Surface Flaws
Before patching or priming, hold a flashlight nearly parallel to the wall surface and move it slowly across the area. This side lighting makes dents, ridges, and uneven texture jump into visibility. Problems caught at this stage cost minutes to fix; the same problems found after painting cost considerably more time and effort to address.
Fill holes and shallow dents with lightweight spackle, feathering the compound slightly beyond the edges of the repair so the patch blends smoothly into the surrounding surface. Let each coat dry fully - most compounds shrink slightly as they cure - then apply a second thin coat if needed. Sand repairs flush with 120-grit sandpaper, wiping away all dust with a slightly damp cloth before moving on.
Cleaning, Priming, and Taping
Grease, smoke residue, and household grime create invisible barriers that prevent paint from adhering evenly. Wash walls with a solution of warm water and a small amount of trisodium phosphate (TSP) substitute, working from the bottom up to avoid streaks. Rinse with clean water and allow walls to dry completely - at least a few hours in a well-ventilated room.
When Primer Is Not Optional
Bare or freshly patched drywall, surfaces with water stains, walls being dramatically lightened in color, and any surface that previously held a high-gloss finish all require dedicated primer - not a paint-and-primer combo. Skipping this step in these situations typically results in poor adhesion, uneven sheen, or bleed-through that reappears through multiple finish coats.
Primer is essential on bare drywall, heavily patched spots, and any surface with water stains or tannin bleed-through (common on wood paneling). On previously painted walls in sound condition, a quality paint-and-primer product can work for lighter color changes. However, if you're covering a dark color with a light one, a tinted primer that matches your topcoat color is worth the extra step - it reduces the number of finish coats required.
80%
Of paint failures traced to poor surface prep
Industry painting contractors commonly cite inadequate surface preparation as the leading cause of premature paint failure, including peeling, bubbling, and adhesion loss.
2-4 hrs
Typical latex paint recoat window
Most interior latex paints require at least two hours between coats under normal temperature and humidity conditions; always verify the specific product's label.
Tape off trim, window frames, and door casings with painter's tape, pressing the edge firmly with a putty knife or a credit card to prevent paint from bleeding under. Apply tape the same day you plan to paint - tape left for several days can be difficult to remove cleanly. Check that tape edges are fully adhered before loading a brush.
When choosing your finish, consider the room's function. Our guide to paint sheen types explains how flat, eggshell, satin, and semi-gloss each behave differently depending on moisture exposure and traffic levels.
Cutting In and Rolling: The Right Sequence
Professional painters always cut in before rolling. Cutting in means using a 2- to 2.5-inch angled brush to paint a 2-3 inch band along every edge the roller can't reach: ceiling lines, corners, trim edges, and around outlets. Load the brush moderately - about one-third of the bristle length - and work in steady strokes, maintaining a wet edge as you go.
Once cut-in sections are complete in a wall section, immediately roll that same section while the cut-in edges are still wet. This blending step is critical: if the brushed edges dry before you roll, you'll see a visible seam in the finished wall. Work in manageable sections of three to four feet at a time rather than cutting in the entire room before rolling.
Sand all patched areas smooth before applying any primer or paint.
Even small raised edges around repairs catch light and become obvious once a sheen finish is applied. Sanding blends patches invisibly into the surrounding surface. Skipping this step negates the repair work entirely.
Prime bare or heavily repaired drywall before applying finish coats.
Unprimed drywall absorbs paint unevenly, producing dull patches called 'flashing' that remain visible even after two coats. Primer seals the surface and creates a uniform base. This step also prevents cut drywall paper from raising when wetted by paint.
Cut in edges with a brush before rolling adjacent flat areas.
Cutting in first and rolling while those edges are still wet allows the two applications to blend together, eliminating visible seams. Rolling over dry brushed edges leaves a distinct texture difference that no additional coat will hide.
Apply two thin coats rather than one heavy coat.
Thick single coats run, sag, and dry unevenly - often with a surface skin over a still-wet interior. Two thin coats cure more reliably, bond more durably, and produce a smoother finished appearance.
Remove painter's tape before the paint fully cures.
Fully cured paint bonds to tape edges, and pulling at that stage often chips or tears the new finish. Removing tape while slightly tacky produces a cleaner edge with less risk of damage.
Apply paint in a W or M pattern with the roller, then fill in without lifting the roller, keeping pressure even. Avoid over-working the paint once it begins to set - repeated rolling of drying paint pulls the film and leaves streaks. Two thin coats, each allowed to dry fully according to the manufacturer's stated recoat time, will give significantly better coverage and durability than one heavy coat.
Cleanup and Finishing Details
Remove painter's tape while the final coat is still slightly tacky - not fully dry. Pull at a 45-degree angle, slowly, away from the painted surface. If the paint has already hardened, score the tape edge lightly with a utility knife before peeling to avoid lifting the new finish with it.
Wash latex paint from brushes and rollers thoroughly under warm water until the water runs clear, then reshape brush bristles and hang them to dry. Rollers used with latex paint can be cleaned and reused several times if rinsed promptly. Clean your paint tray before any residue cures.
Finally, inspect the finished walls in daylight and from different angles before considering the job done. Touch up any thin spots, drips that were missed while wet, or areas where tape bleed occurred. Keep a small amount of paint in a labeled, sealed container for future touch-ups - matched paint fades differently than fresh paint straight from the can.
If your painting project is in a bathroom or kitchen and involves areas near tile, see our guidance on maintaining watertight seals around tile to ensure the surfaces behind and around your painted walls stay protected from moisture damage.