

Cars & Driving

Pre-Road-Trip Vehicle Inspection Checklist

Share
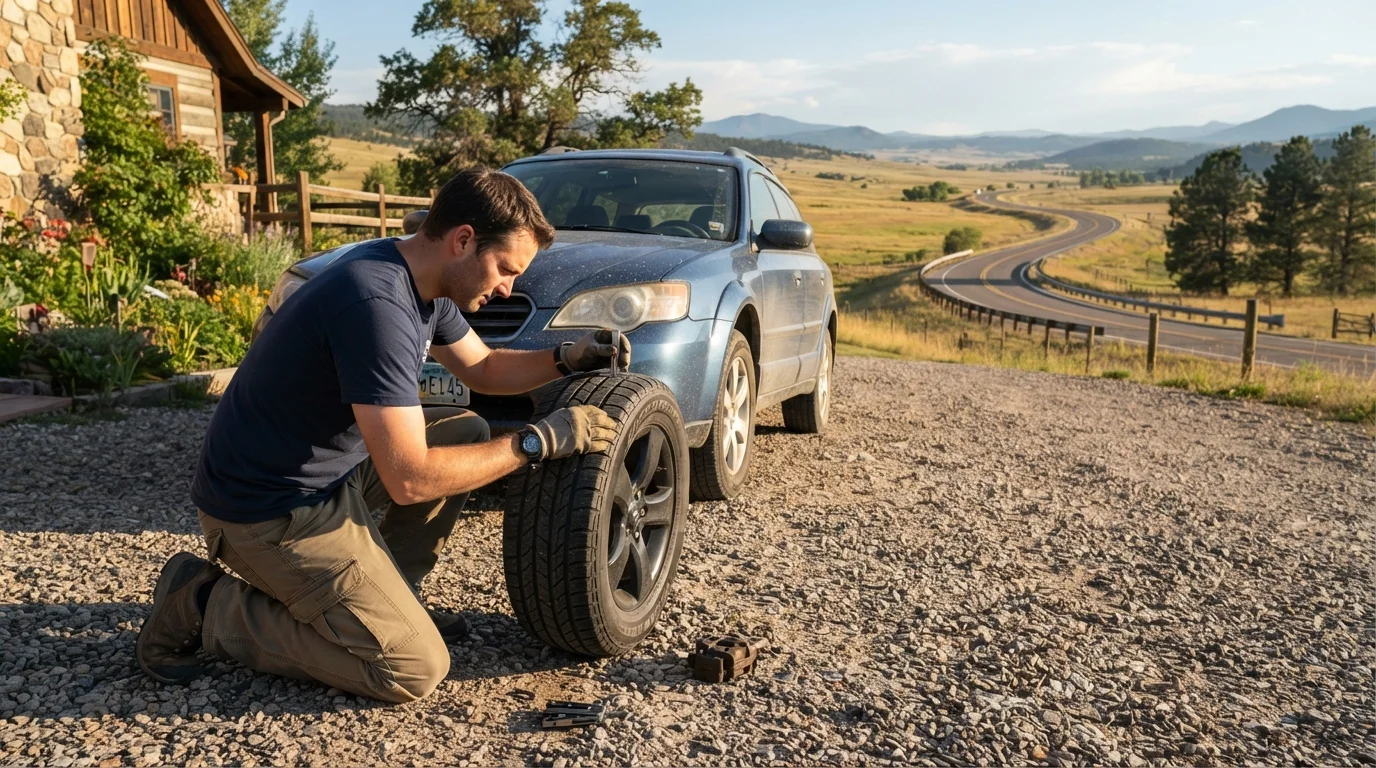
Person inspecting a car tire with a pressure gauge in a sunny driveway before a road trip.

Key Takeaways

Tires, fluids, brakes, and lights are the four non-negotiable systems to inspect before any long drive.
Checking tire pressure and tread depth takes under five minutes and significantly reduces blowout risk.
A packed emergency kit can turn a roadside breakdown from a crisis into a manageable inconvenience.
Many inspection tasks can be done at home with basic tools — no mechanic visit required.
Plan your inspection at least 24 hours before departure so any issues can be addressed in time.
30–60 min

Summary

24 items · 30–60 minutes

Why a Pre-Road-Trip Inspection Matters

A road trip puts sustained demands on your vehicle that everyday commuting does not. Highway speeds generate more heat in tires and brakes, long stretches between exits leave little margin for mechanical failure, and unfamiliar roads in remote areas can mean hours before roadside help arrives. A thorough inspection completed before you leave dramatically reduces the likelihood of a breakdown — and the danger that comes with it.

This checklist is designed for everyday drivers, not professional mechanics. Most items require only basic tools and 30 to 60 minutes of focused attention. For a broader maintenance foundation, see our guide to essential car maintenance for new drivers — it covers the systems and habits that keep any vehicle reliable year-round. If you drive in changing seasons, pair this inspection with our seasonal car maintenance guide to address temperature-specific risks.

Schedule Inspection 24 Hours Before Departure

Completing this checklist the night before — rather than the morning of — gives you time to address problems. Auto parts stores are often closed late at night, and mechanics may not have same-day availability. Build the buffer in so a dead bulb or low fluid doesn't delay your trip.

What You'll Need

Before starting, gather the tools below. Having everything on hand prevents interruptions mid-inspection and ensures you get accurate readings.

Required

Tire Pressure Gauge

Accurately measure PSI in each tire to ensure correct inflation before departure.

Required

Tread Depth Gauge or Quarter

Measure remaining tread depth to assess whether tires are safe for highway driving.

Required

Flashlight or Work Light

Illuminate dark areas under the hood and beneath the vehicle during inspection.

Required

Owner's Manual

Provides vehicle-specific fluid specifications, dipstick locations, and maintenance intervals.

Optional

Portable Jump Starter Pack

Allows you to restart a dead battery without needing another vehicle — useful in remote areas.

Optional

Brake Fluid Test Strips

Quickly check whether brake fluid has absorbed enough moisture to warrant replacement.

Your owner's manual is particularly important — it specifies the correct oil viscosity, coolant type, and tire pressure for your exact make and model. Generic advice can be a starting point, but manufacturer specifications take precedence.

The Full Inspection Checklist

Work through each group systematically. If you find an issue you can't resolve yourself — unusual brake behavior, a visible fluid leak, or a tire with structural damage — consult a qualified mechanic before departure. Many problems that seem minor at 25 mph become serious at 70 mph.

Tires

Check tire pressure on all four tires (plus the spare) using a quality gauge and inflate to the PSI listed on the driver's door jamb sticker — not the maximum printed on the tire sidewall. Must
Inspect tread depth by inserting a quarter upside-down into a groove; if you can see the top of Washington's head, the tread is worn low and the tire should be replaced before a long trip. Must
Look for visible sidewall cracking, bulges, or embedded objects (nails, screws) that indicate a slow leak or blowout risk. Must
Confirm the spare tire is inflated to spec and that the jack and lug wrench are present and accessible. Must
Check that lug nuts are properly torqued — hand-tighten if uncertain and have a shop verify torque spec if you recently had tires rotated. Should

Fluids

Check engine oil level with the dipstick when the engine is cold; top off if below the minimum line, and schedule an oil change if you're within 1,000 miles of the recommended interval. Must
Inspect coolant level in the overflow reservoir; only open the radiator cap when the engine is completely cold to avoid burns. Must
Verify brake fluid level in the translucent reservoir under the hood; a low level can signal a leak or worn brake pads. Must
Check power steering fluid (if applicable to your vehicle) and transmission fluid per your owner's manual procedure. Should
Top off windshield washer fluid — use a formula appropriate for the temperatures you'll encounter along your route. Should

Lights & Electrical

Test all exterior lights — headlights (low and high beam), taillights, brake lights, turn signals, and reverse lights — by walking around the vehicle with a helper or using a reflective surface. Must
Verify hazard lights function correctly, as they are essential for roadside emergencies. Must
Check that the battery terminals are free of corrosion (white or blue residue); if the battery is more than three years old, consider having its charge tested at an auto parts store. Should
Confirm the horn works — it is a legally required safety device in all U.S. states. Should

Brakes & Steering

Listen for squealing, grinding, or pulsating when applying the brakes during a low-speed test in your driveway or a quiet parking lot — any of these sounds warrant a professional inspection before departure. Must
Check that the parking brake engages and releases fully. Should
Note any pulling to one side when driving straight or unusual vibration through the steering wheel, which may indicate alignment or suspension issues. Should

Belts, Hoses & Under the Hood

Visually inspect the serpentine belt for cracks, fraying, or glazing; a snapped belt will disable the alternator and power steering simultaneously. Should
Check radiator and heater hoses for soft spots, bulges, or cracks — squeeze them gently when cold; they should feel firm. Should
Ensure the air filter is reasonably clean; a severely clogged filter reduces fuel efficiency noticeably on highway driving. Nice to have

Emergency Kit & Cabin Essentials

Pack a roadside emergency kit including jumper cables or a jump starter pack, reflective triangles or road flares, a basic first-aid kit, a flashlight with fresh batteries, and work gloves. Must
Ensure wiper blades clear the windshield cleanly without streaking — replace if they chatter or leave large smears. Should
Carry a printed or downloaded offline map for areas where cell service may be unreliable. Nice to have

Don't Skip the Brakes or Tires

Brake and tire failures are among the leading mechanical causes of highway accidents. If your brakes are grinding, your tires are visibly worn, or tire pressure is significantly low, do not depart until a qualified mechanic has assessed the vehicle. These are not issues to monitor en route — they are departure blockers.

Never Open a Hot Radiator Cap

Coolant in a hot engine is under pressure and can exceed 200°F. Opening the radiator cap immediately after driving can cause severe scalding burns. Always allow the engine to cool completely — at least 30 minutes after shutting off — before checking coolant or opening any cooling system component.

After the Inspection: Final Steps Before You Go

Once you've worked through the checklist, take a short 10-minute test drive around your neighborhood. Listen for noises you don't normally hear, note how the brakes feel, and check that all dashboard warning lights have cleared. If the check engine light, tire pressure warning, or any other indicator is active, do not ignore it — use an OBD-II code reader (available at most auto parts stores for free loan) to read the fault code before assuming it's safe to proceed.

For the travel side of your planning — documents, reservations, and route logistics — the pre-trip checklist for stress-free travel covers those bases in one place. And if you want a quick reference for day-to-day pre-drive habits even on shorter trips, our pre-trip vehicle safety check is a useful companion resource.

This article provides general vehicle inspection guidance for informational purposes. It is not a substitute for professional mechanical assessment. When in doubt about the condition of any vehicle system, consult a licensed mechanic before driving.

Cars & Driving Editorial Team is the collective byline for our editorial team and contributor network. Articles published under this byline or an editorial pen name are researched, written, and reviewed according to our editorial standards for clarity, consistency, and independence before publication.

View all articles by Cars & Driving Editorial Team →
Disclaimer: The content provided on our blog site traverses numerous categories, offering readers valuable and practical information. Readers can use the editorial team’s research and data to gain more insights into their topics of interest. However, they are requested not to treat the articles as conclusive. The website team cannot be held responsible for differences in data or inaccuracies found across other platforms. Please also note that the site might also miss out on various schemes and offers available that the readers may find more beneficial than the ones we cover.