

Key Takeaways
What Happens at a U.S. Airport Security Checkpoint
Every domestic airport in the United States uses a checkpoint system managed by the Transportation Security Administration (TSA). The goal is to prevent prohibited items - weapons, explosives, and other threats - from entering the secure airside area. For most travelers, the process takes five to fifteen minutes, but it feels chaotic if you don't know what's coming.
There are two main screening paths. The standard lane requires you to unpack laptops, remove shoes, and separate liquids. The TSA PreCheck lane - available to enrolled members - skips most of that unpacking. If you travel more than two or three times a year, enrolling in PreCheck is worth exploring; it involves a background check, an in-person appointment, and a fee, but the enrollment lasts five years.
See the pre-trip planning checklist for a broader look at what to sort out before you even get to the airport.
REAL ID Enforcement Is in Effect
As of May 7, 2025, TSA requires a REAL ID-compliant driver's license or another accepted form of ID (such as a U.S. passport) to board domestic flights. A standard state-issued driver's license without the star marking is no longer sufficient. Check your card for a gold or black star in the upper corner, or verify your state's compliance at your state DMV website.
What You'll Need Ready
Getting through the checkpoint smoothly starts well before you arrive at the airport. Assembling the right documents and packing your carry-on thoughtfully removes almost all the friction from the process.
What you will need
REAL ID-Compliant or Accepted Photo ID
Required to pass through the TSA identity verification step before reaching the screening lane.
Quart-Sized Clear Zip-Top Bag
Used to consolidate all carry-on liquids, gels, and aerosols within TSA's 3-1-1 rule.
TSA PreCheck or Global Entry Membership
Grants access to expedited screening lanes where shoes, laptops, and liquids stay put.
Mobile or Printed Boarding Pass
Scanned at the ID verification podium and again at the gate; required to enter the secure area.
Pack Your Carry-On With the Checkpoint in Mind
Place your quart-sized liquids bag and any large electronics near the top of your carry-on so you can pull them out quickly. Wear slip-on shoes if you're in a standard lane. The less you have to dig and shuffle at the belt, the faster you move - and the happier everyone around you will be.
Step-by-Step Through the Checkpoint
Follow these steps in order. Each one builds on the last, and arriving prepared at step one makes every subsequent step faster.
Arrive Earlier Than You Think You Need To
TSA recommends arriving at least two hours before a domestic flight and three hours before an international departure. Checkpoint wait times vary widely by airport, day of week, and time of day. Cutting it close is one of the most common - and most avoidable - reasons travelers miss flights.
Confirm your ID is accepted before you leave home
Pull out your driver's license and look for a star symbol in the upper corner - that star means it's REAL ID-compliant. If your license doesn't have it, you'll need a U.S. passport, passport card, military ID, or another form on TSA's accepted ID list. Discovering an ID problem at the airport is a stressful, sometimes trip-ending situation that's entirely preventable.
Sort your liquids before you pack
TSA's 3-1-1 rule governs every liquid, gel, cream, paste, and aerosol in your carry-on: each container must be 3.4 oz (100 mL) or smaller, all containers must fit in one quart-sized clear zip-top bag, and each passenger is limited to one such bag. Full-size shampoo, perfume bottles over 3.4 oz, and similar items must go in checked luggage or be left at home. Medically necessary liquids and baby formula are exempt - declare them separately at the checkpoint.
Find the correct screening lane
Most airports have several lanes: standard, TSA PreCheck, and sometimes CLEAR. Look at the signs above each lane entrance. If you have PreCheck printed on your boarding pass, use the dedicated PreCheck lane - your boarding pass must display it, not just your Known Traveler Number. If you don't have PreCheck, join the standard lane and follow the floor signage.
Present your ID and boarding pass at the podium
A TSA officer will verify your identity using your photo ID and boarding pass. If your boarding pass is on your phone, have it pulled up and screen brightness turned up before you reach the officer - fumbling with a locked phone slows the line. Some airports use Credential Authentication Technology (CAT) scanners that read your ID electronically; just hand it over as directed.
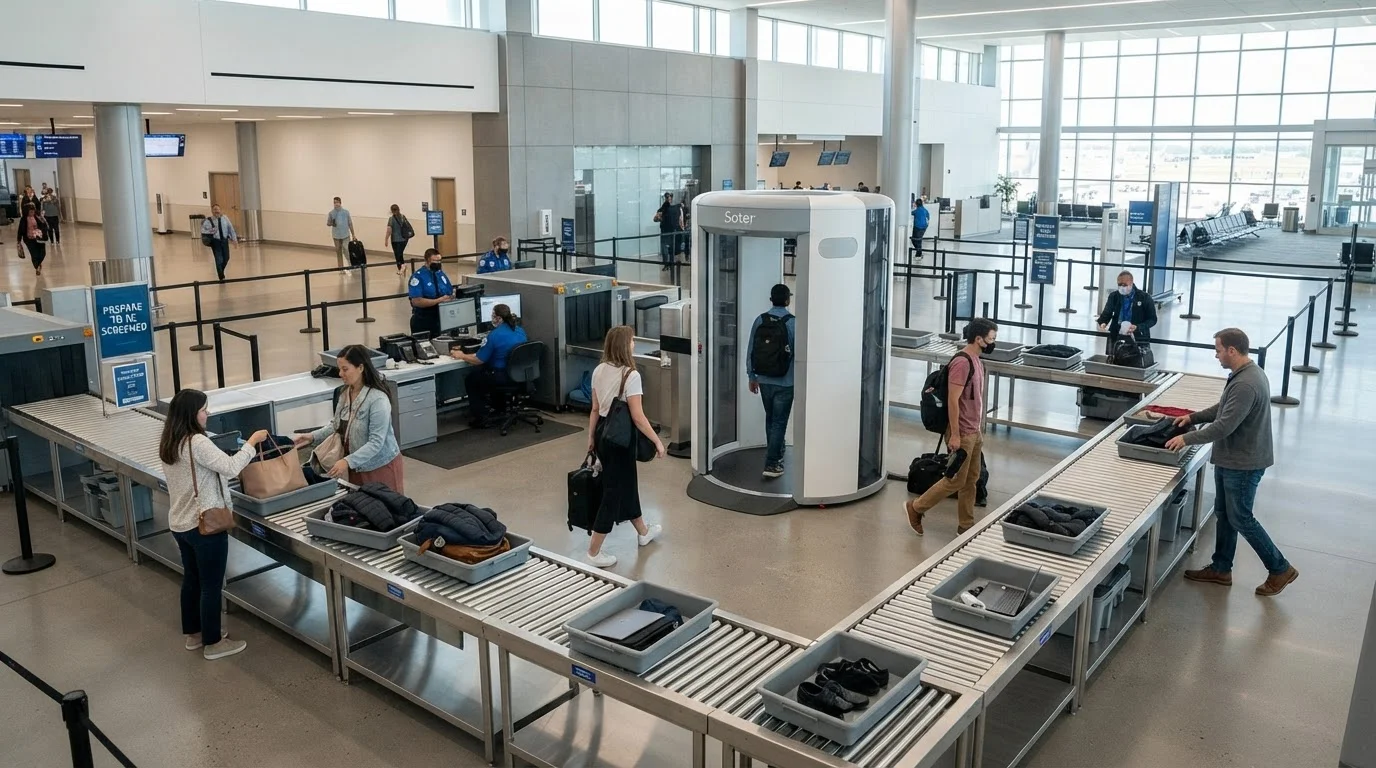
Prepare your belongings at the conveyor belt
Standard lane: Remove your shoes and place them in a bin. Take your laptop and any tablet or e-reader out of your bag and lay them flat in a separate bin. Pull out your quart-sized liquids bag and place it in a bin. Bulky jackets and belts go in a bin too. Send everything through and walk through the metal detector or body scanner when directed.
TSA PreCheck lane: Shoes stay on, laptop stays in the bag, liquids stay in the bag. Simply place your carry-on on the belt and walk through the dedicated screening equipment.
Collect your belongings and do a quick check
After clearing the scanner, move your bins and bags to the end of the belt or to a nearby bench before reassembling yourself. Check that your phone, wallet, laptop, and boarding pass are all accounted for before walking away. Leaving items in the bin is one of the most common airport mistakes - slow down for thirty seconds here to avoid a scramble later.
Common Questions and Checkpoint Realities
What if I forget something prohibited? Officers will offer you the option to surrender the item, return it to your checked bag if time allows, or mail it to yourself. There's no fine for accidentally bringing a prohibited item - confiscation is the standard outcome.
Can I bring food? Solid food is generally permitted in carry-ons. Liquids like soups, yogurt, and peanut butter fall under the 3-1-1 rule. If you're unsure about a specific item, TSA's official What Can I Bring? tool on their website lets you search by item name.
Traveling with medications or medical devices? Declare them at the checkpoint. Prescription medications, insulin, syringes, and CPAP machines are accommodated, though you may be directed to additional screening. Always carry medications in their original labeled containers when possible.
If you're heading abroad after clearing a domestic checkpoint, the security experience at your international destination may differ significantly. Our guide on understanding international travel logistics covers what to expect once you land. And for travelers planning a longer journey, the multi-country European trip guide walks through pre-departure logistics including documents and packing.