

Key Takeaways
Why Bathroom Renovations Are More Complex Than They Look
A bathroom is the most system-dense room in a home relative to its square footage. In a space that often measures under 60 square feet, you have pressurized water supply lines, drain and vent stacks, dedicated electrical circuits, exhaust ventilation, and finish materials that must withstand constant moisture. Each system intersects with the others, which means a change to one almost always affects the rest.
Homeowners who approach a bathroom remodel expecting a straightforward swap of fixtures frequently discover that moving a drain even two feet requires cutting into a subfloor and re-routing a vent stack - work that triggers permit requirements and adds days to the schedule. Understanding the full scope upfront is how you avoid the kind of scope creep covered in our guide on what new homeowners get wrong about renovation budgets.
~$12,000
Median US bathroom remodel cost
According to the National Association of Realtors, mid-range bathroom remodels in the US have a median cost in the low-to-mid five figures, varying significantly by region and scope.
72%
Remodels that uncover hidden damage
Industry surveys of contractors consistently find the majority of bathroom remodels reveal some degree of pre-existing water damage or outdated systems during demolition.
50+ CFM
Minimum exhaust fan capacity recommended
The Home Ventilating Institute recommends at least 50 CFM for most residential bathrooms, with higher capacity for larger or enclosed wet areas.
Phase 1: Demolition and What You'll Find Behind the Walls
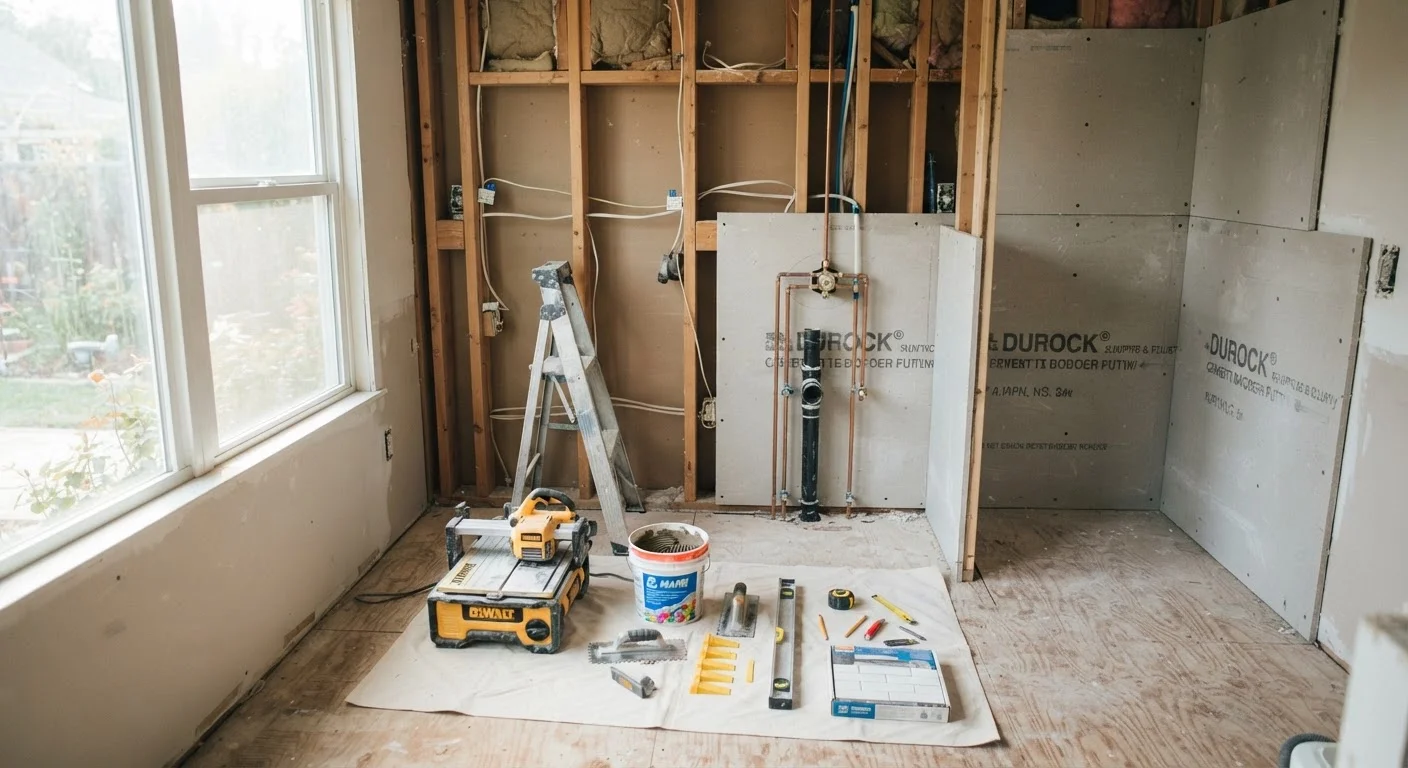
Demolition is the phase that sets the true budget for everything that follows. Once drywall and tile come down, the actual condition of the structure becomes visible. Common discoveries include:
- Water-damaged subfloor from years of slow leaks at the toilet flange or tub surround
- Outdated wiring - notably ungrounded two-prong circuits or missing GFCI (Ground Fault Circuit Interrupter) protection near wet areas
- Galvanized or lead supply pipes in older homes that are corroded or undersized
- No blocking in the wall framing where grab bars or heavy fixtures need solid backing
Each discovery adds a decision point: address it now, or patch and move on. Experienced contractors almost universally recommend addressing underlying issues during active demolition, since re-opening finished walls later costs far more than correcting problems while the structure is already exposed.
Don't Skip Subfloor Repairs
A compromised subfloor beneath a toilet or tub is not cosmetic - it is a structural and health issue. Soft, spongy, or discolored subfloor material indicates rot or mold that will continue to spread if covered rather than replaced. Tile and mortar beds add significant weight; laying them over a weakened subfloor can result in cracking tile, failed joints, and eventual structural failure.
Phase 2: Plumbing and Electrical Rough-In
Rough-in work happens before any walls are closed. This is the phase where supply lines, drain pipes, and electrical conduit are run to the locations where fixtures will eventually land. Sequence matters: plumbing typically precedes electrical so that pipe routing doesn't conflict with wire runs.
Plumbing rough-in considerations:
- Drain slope must maintain at least ¼ inch of fall per horizontal foot to drain properly without clogging
- Every drain requires a P-trap and must tie into a vented drain line to prevent sewer gas from entering the room
- Hot and cold supply stubs need to be positioned precisely for the chosen fixture - a toilet rough-in is standard at 12 inches from the finished wall, but some fixtures vary
Electrical rough-in considerations:
- All bathroom circuits in the US must be GFCI-protected per the National Electrical Code (NEC)
- Most jurisdictions require a dedicated 20-amp circuit for bathroom receptacles
- Recessed light fixtures inside a shower must be rated for wet or damp locations
Mark your rough-in locations on the studs with a permanent marker before any inspector visits, and photograph every pipe and wire run before closing walls. These photos become invaluable during future repairs or additions.
Once walls are finished, the exact location of pipes and wires is invisible. Documented photos save hours of guesswork and reduce the risk of puncturing a pipe during a future nail or screw installation.
When specifying your exhaust fan, choose one rated for the next size up from your calculated minimum CFM - bathroom additions like a separate toilet room or larger shower increase the load more than most homeowners anticipate.
Undersized ventilation is a leading root cause of mold in remodeled bathrooms, and upgrading a fan after tile is set requires reopening the ceiling - a costly fix for an avoidable problem.
Both plumbing and electrical rough-in require inspections in most municipalities before walls can be closed. Skipping this step can result in failed inspections later and the cost of reopening finished surfaces.
Phase 3: Waterproofing, Backer Board, and Tile
This is the phase that most directly determines how long your renovation holds up. Standard drywall - even moisture-resistant variants - is not suitable as a tile substrate in wet zones. The industry standard is to use cement backer board or a proprietary tile backer panel, followed by a continuous waterproof membrane in the shower and tub surround area.
The waterproofing membrane (applied either as a sheet or a liquid-applied coating) must cover not just the field of the wall but also the corners, transitions, and curb - the points most vulnerable to movement and water intrusion. Our detailed resource on grout, caulk, and tile in wet areas explains how to maintain these seals after installation.
Seal Corners with Caulk, Not Grout
Wherever two tiled surfaces meet at a change of plane - wall-to-floor, wall-to-wall inside corners, wall-to-tub ledge - use flexible silicone caulk rather than grout. Grout is rigid and will crack at these joints as the structure undergoes normal seasonal movement. A cracked grout corner is an open path for water to reach the substrate behind your tile.
Tile setting follows waterproofing. Key decisions at this stage include layout planning (centered vs. offset), grout joint width, and whether to use unsanded or sanded grout. Floor tiles in wet areas benefit from smaller format tiles or mosaics, which provide more grout lines and therefore more slip resistance.
Phase 4: Fixtures, Ventilation, and Final Finishes
Once tile is set and cured, fixtures are installed in a specific sequence: toilet last (to protect the flange during earlier work), vanity and sink after countertop or top is placed, then shower valve trim, and finally accessories. Each connection point - supply lines, drain assemblies, valve stems - is a potential leak source and should be pressure-tested before the project is considered complete.
Ventilation is consistently underspecified in bathroom renovations. The Home Ventilating Institute recommends a minimum of one CFM (cubic feet per minute) of exhaust capacity per square foot of bathroom floor area, with a minimum of 50 CFM for most residential bathrooms. An undersized or improperly ducted fan that exhausts into the attic rather than to the exterior is a leading cause of mold growth in renovated bathrooms.
Final finishes - paint, trim, mirror, lighting fixtures - come last. If any of these involve electrical connections (vanity lights, heated floors), those connections must be made by or inspected by a licensed electrician where required by local code. For rooms where a full remodel isn't feasible, see our piece on small space upgrades that change how a room feels for lower-commitment alternatives.
“The most expensive part of any bathroom renovation isn't the tile or the fixtures - it's the water damage that accumulated for years before the walls came down. The renovation just makes it visible.”
— A licensed general contractor with over 20 years of residential remodeling experience, Residential remodeling contractor, US market
Permits, Inspections, and When to Call a Pro
In most US jurisdictions, any work that moves or adds plumbing, alters electrical circuits, or changes the structure of a bathroom requires a building permit. Permits exist to ensure work meets minimum safety standards - not to create bureaucratic hurdles. Unpermitted work can complicate home sales, void homeowner's insurance claims, and leave you liable for correcting non-compliant work at your own expense.
Unpermitted Bathroom Work Carries Real Risk
Work done without required permits is not simply a technicality. If unpermitted plumbing or electrical work causes a fire, flood, or injury, your homeowner's insurance may deny the claim on the grounds that the work was not code-compliant. When selling your home, unpermitted work can surface during inspection and require correction at your expense before closing. Always verify permit requirements with your local building department before starting.
Tasks that are generally safe for a competent DIYer to tackle without a license include: painting, installing a vanity light on an existing circuit (verify local rules), swapping a toilet, recaulking, and replacing tile on an existing properly-prepared substrate. Tasks that almost universally require licensed tradespeople include: moving or adding drain lines, adding or extending electrical circuits, working on gas lines (for radiant heat or gas heaters), and any structural modification.
Understanding which category your planned work falls into before demolition begins is one of the highest-value steps in any renovation. For a broader view of how renovation decisions interact with structural realities, see open-concept layout structural realities. And if common renovation myths are shaping your assumptions, home improvement myths that cost homeowners money is worth a read before you commit.