

Key Takeaways
Why Caulk Rarely Fails for the Reasons People Assume
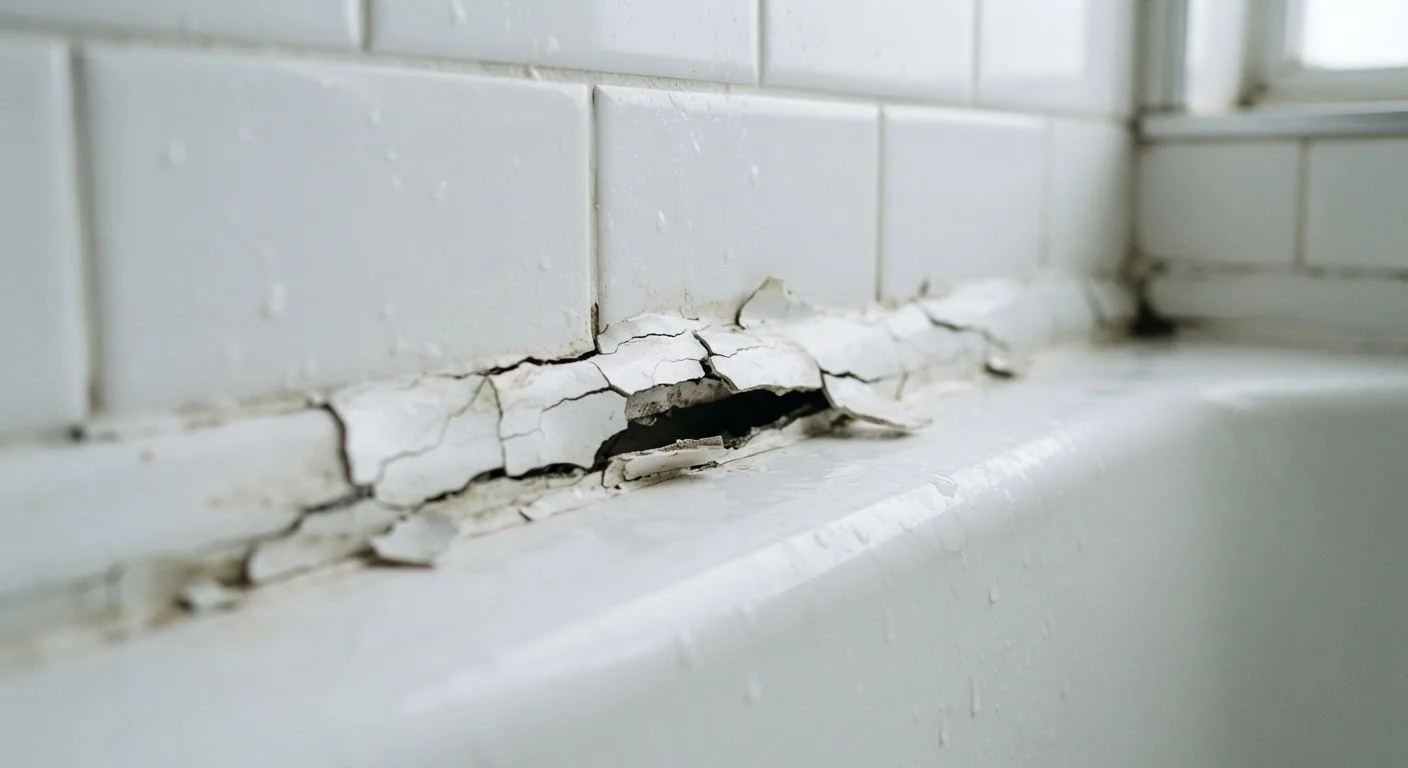
When caulk starts peeling or cracking after only a few months, most homeowners blame the product. In reality, premature failure almost always comes down to how the caulk was applied - not what brand was used. Understanding what actually causes the seal to break down is the first step toward making a repair that holds.
Caulk serves a structural sealing purpose: it blocks air infiltration, keeps moisture out of wall cavities, and bridges the movement between two different materials. When it fails early, those gaps reopen - and moisture intrusion can escalate quickly. See our guide to how minor water damage escalates for a sense of how unchecked leaks compound over time.
The mistakes below are the most common causes of early caulk failure, along with practical corrections you can apply on your next project.
Applying new caulk directly over old, failing caulk without removing it first.
Why it happens: Removing old caulk is tedious and time-consuming, so many people layer new caulk on top hoping it will bond well enough.
Skipping surface cleaning and drying before application.
Why it happens: Surfaces can look clean even when they carry soap scum, mold residue, or construction dust that prevents adhesion.
Using an interior latex caulk in wet or exterior locations that require a flexible, waterproof formulation.
Why it happens: Packaging looks similar across product types, and many shoppers select caulk based on color match rather than reading the label for intended use.
Caulking in cold temperatures or high humidity, which prevents proper curing.
Why it happens: Homeowners often caulk when the problem is noticed rather than waiting for suitable conditions.
Leaving wide gaps unfilled before caulking, which creates a bead too thin to flex without cracking.
Why it happens: Many DIYers assume caulk alone can bridge large gaps - it cannot do this reliably without backing material.
Getting the Most Out of Your Next Caulk Job
Even with the right product and clean surfaces, a few finishing habits make a meaningful difference in longevity. After applying the bead, smooth it with a damp fingertip or a caulk tool rather than leaving it ridged - a concave profile sheds water instead of collecting it. For wet areas like tub surrounds and shower corners, give the caulk a full 24-48 hours to cure before exposing it to water, even if the label suggests a shorter window.
Don't Seal Over Active Mold or Moisture
Caulking over a damp or moldy surface traps moisture behind the seal rather than eliminating it. This can accelerate mold growth inside wall cavities where it's harder to detect and more expensive to remediate. Always identify and address the source of any moisture before applying a new bead, and treat visible mold with an appropriate cleaner before resealing. If mold is recurring in the same spot, a professional inspection may be warranted to rule out a deeper water intrusion issue.
It also helps to understand which sealant belongs where before you start. Our overview of caulk, weatherstripping, and sealants breaks down the distinctions clearly. For bathroom and kitchen-specific guidance, keeping wet areas watertight covers maintenance schedules and warning signs to monitor.
If you've been told that painting over a gap seals it adequately, or that any caulk works anywhere, those are common myths worth reconsidering. Our home maintenance myths article addresses those directly. Small preparation habits - clean surfaces, correct product, patience during cure - are what separate a seal that lasts years from one that peels in a season.