

Key Takeaways
The Real Reason Your Caulk Keeps Failing
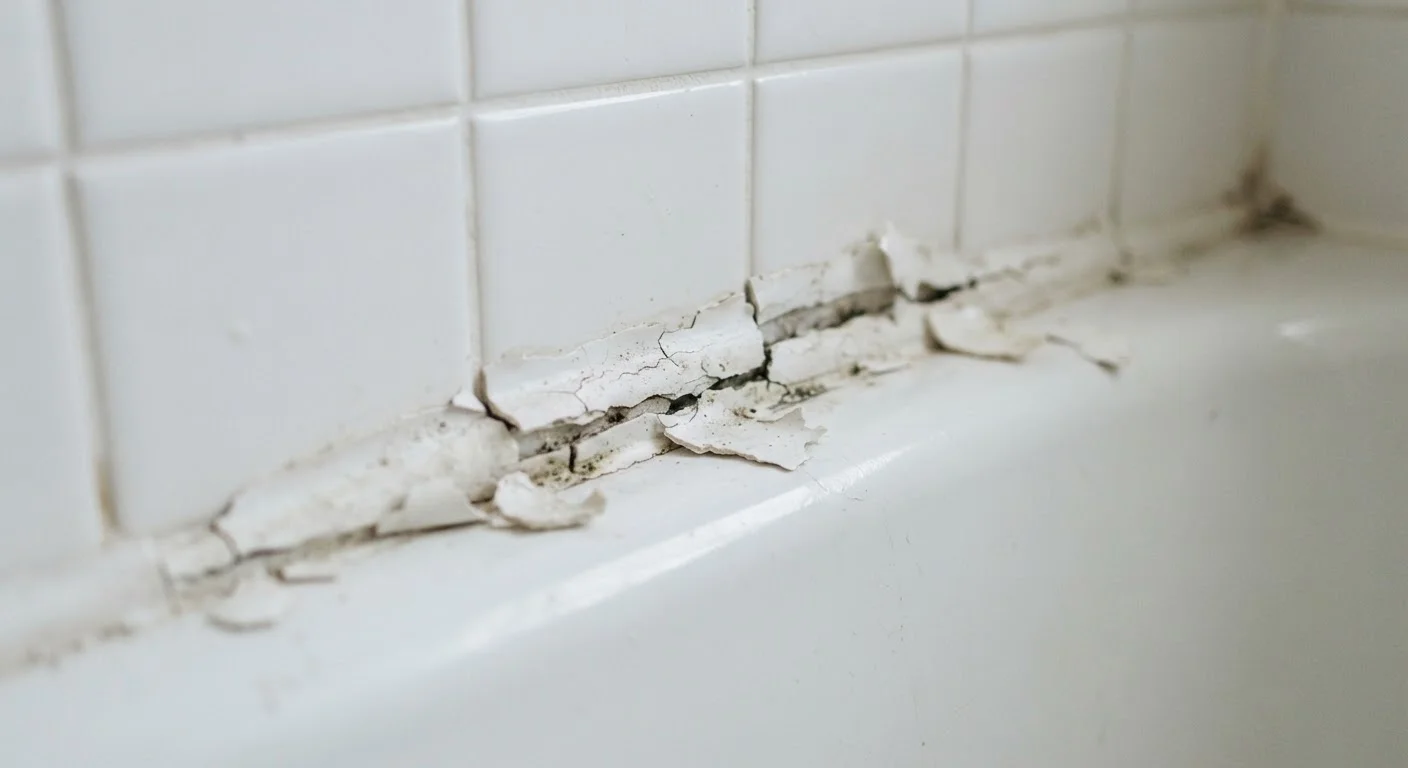
Bathroom caulk that cracks, peels, or grows mold within a year is frustrating - but it's rarely a sign that you bought a bad product. In most cases, the failure was set in motion before a single bead was applied. Surface contamination, moisture trapped underneath, and mismatched product types are the usual culprits, and all of them are preventable.
Understanding why caulk fails early saves you from a cycle of repeated re-caulking and, more importantly, protects against the water damage that builds silently behind walls and under flooring. As we cover in our guide to keeping wet areas watertight, the bathroom is one of the most water-vulnerable rooms in any home - and caulk is your first line of defense.
Applying caulk over an old, dirty, or contaminated surface.
Why it happens: Homeowners often apply fresh caulk directly over deteriorating caulk to save time, assuming the new layer will bond over the old one.
Caulking over a wet or damp surface.
Why it happens: Bathrooms are used daily, and it's tempting to squeeze in the repair right after a shower or cleaning session when the area has just been wiped down.
Using interior paintable caulk in a wet zone instead of a silicone or siliconized latex caulk rated for kitchens and bathrooms.
Why it happens: General-purpose caulk is inexpensive and widely available, so many people reach for whatever's on hand without checking the product label.
Skipping the tooling step and leaving the bead rough or uneven.
Why it happens: Many first-timers don't realize that smoothing the bead immediately after application is a required step, not an aesthetic one.
Exposing fresh caulk to water before it has fully cured.
Why it happens: Product packaging sometimes lists a "touch-dry" time of a few hours, which homeowners interpret as ready for use.
Bridging a gap that is too wide for a single caulk bead.
Why it happens: When a gap between a tub and tile exceeds about a quarter inch, a single bead of caulk lacks the structural backing to hold its shape, but this isn't always obvious at the time of application.
How to Make Your Next Caulk Job Actually Last
Every one of the mistakes above has a straightforward fix. The common thread is patience: proper prep, appropriate product selection, and adequate cure time add maybe 30 minutes to the job but can double or triple the lifespan of the seal.
Don't Caulk Joints That Need Grout
Caulk and grout are not interchangeable. Field tile joints between tiles should be grouted; caulk belongs at changes of plane - corners, the tub-to-tile joint, and where tile meets a fixture. Filling a grout joint with caulk may look fine initially but tends to fail faster because caulk is not designed for narrow tile-to-tile gaps. Using caulk in the wrong locations can also void tile installation warranties.
Once your new caulk is fully cured, inspect it briefly every few months - catching a small separation early costs almost nothing to fix. Waiting until you see mold or tile shifting means water has likely already worked its way behind the wall. The same logic applies to other parts of the home: our article on why small roof leaks turn into big problems illustrates how minor moisture intrusion escalates quickly when ignored.
It's also worth separating fact from habit: many homeowners apply caulk the way they were taught rather than the way that actually works. Home maintenance myths - like the idea that paint or grout alone can seal a wet joint - contribute directly to premature failures. For a deeper look at caulk-specific causes and durable application techniques, see our companion piece on why caulk fails early and what you can do differently.
Caulk is inexpensive and re-caulking is a manageable DIY task - but only when done correctly. Getting the prep right the first time is the single highest-return action a homeowner can take to protect a bathroom from water damage.