

Key Takeaways
Why Composting Is Worth the Effort
Composting is essentially managed decomposition - you're creating conditions where microorganisms break down organic matter into a stable, nutrient-rich amendment called humus. When mixed into garden beds, finished compost improves drainage in clay soils, helps sandy soils retain moisture, and feeds plants slowly over time without risk of burning roots.
Beyond the garden benefits, composting diverts a significant volume of household waste from the landfill. The EPA estimates that food and yard waste together make up a large share of what Americans throw away - all of it potentially compostable.
If you're already planning a food garden, pairing composting with a vegetable garden started from scratch gives you an in-house soil amendment source from day one.
What you will need
What You Can (and Cannot) Compost
Compost ingredients fall into two categories based on their chemical makeup:
- Greens (nitrogen-rich): Fruit and vegetable scraps, coffee grounds and filters, tea bags (paper only), fresh grass clippings, plant trimmings, and eggshells.
- Browns (carbon-rich): Dry leaves, cardboard (torn into pieces), newspaper, paper bags, straw, sawdust from untreated wood, and dry plant stalks.
A workable starting ratio is roughly one part greens to three parts browns by volume. Too many greens and your pile turns slimy and smells like ammonia. Too many browns and decomposition stalls.
Avoid These Common Problem Additions
Meat, fish bones, dairy, and oily cooked foods attract rodents and other pests and should never go into a backyard pile. Diseased plants or weeds that have gone to seed can spread problems to your garden when the finished compost is applied. When in doubt, leave it out.
What to keep out: meat, fish, dairy, oily foods, diseased plants, pet waste, and anything treated with persistent pesticides. These either attract pests, introduce pathogens, or resist breakdown in a home pile.
Step-by-Step: Setting Up and Managing Your Compost
Follow the steps below to build a compost system that works with your yard size and the amount of material you generate.
Choose your composting method
Select a setup based on available space and how much material you generate:
- Open pile: Simplest approach for large yards with plenty of leaves and clippings. No cost, no container, just a designated corner.
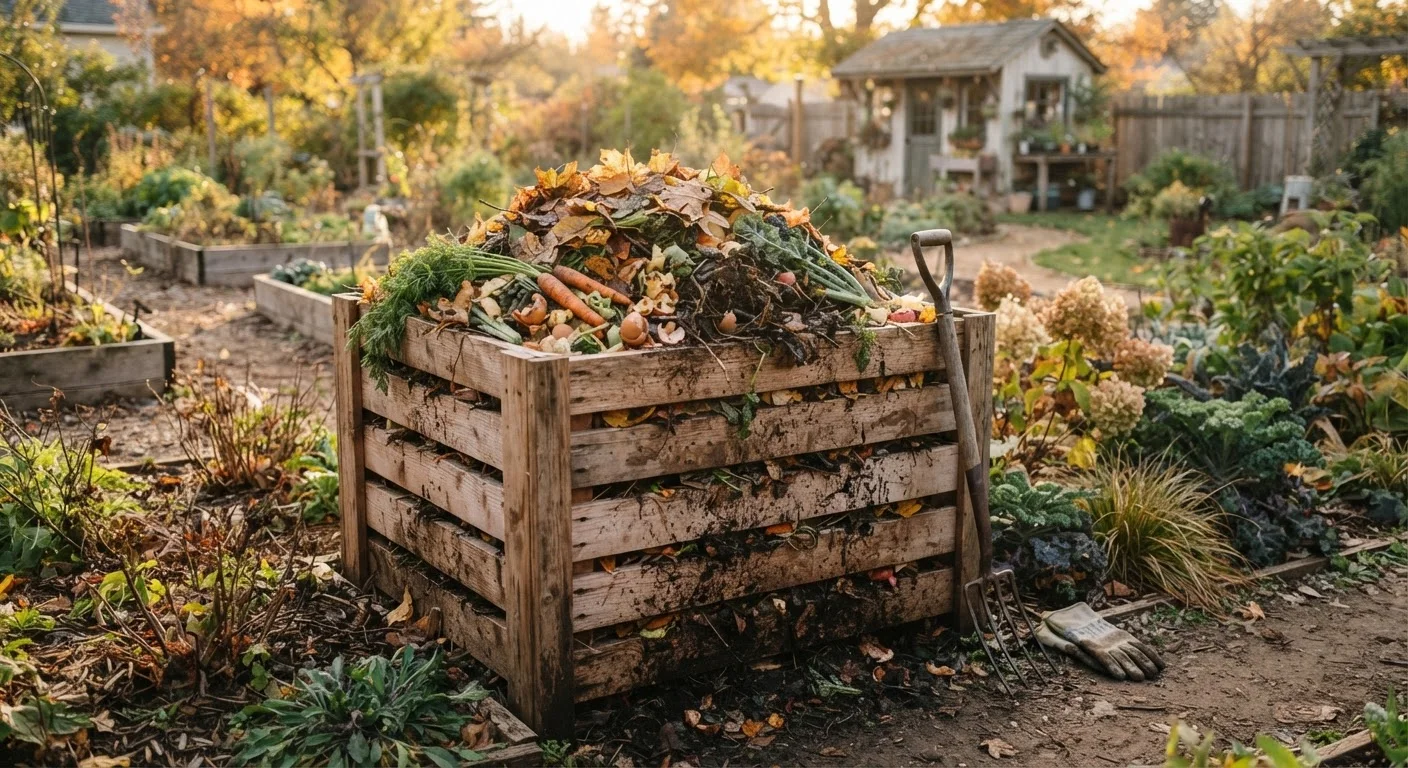
- Contained bin: Better for smaller yards or areas where aesthetics matter. Purchased bins or DIY wood-pallet designs both work well.
- Tumbler: A sealed rotating drum that speeds decomposition and keeps pests out - useful for suburban lots.
Any method works; consistency in adding and turning materials matters more than the container itself.
Build your base layer
Start with a 4-6 inch layer of coarse brown material directly on bare soil - wood chips, straw, or broken-up twigs work well. This base layer creates airflow from the bottom and helps drainage. Avoid starting on pavement or concrete; ground contact allows beneficial organisms to migrate into the pile.
Layer greens and browns as you add material
Each time you add kitchen scraps (greens), cover them with a roughly equal or larger layer of browns. In practice, this means keeping a bucket or bin of dry leaves or torn cardboard nearby your kitchen collection container. Alternating layers prevents compaction and odor while maintaining the carbon-to-nitrogen ratio the microbes need.
Manage moisture levels
Your compost pile should feel like a wrung-out sponge - damp but not dripping. Too dry and microbial activity slows dramatically. Too wet and anaerobic (oxygen-deprived) bacteria take over, producing foul odors. In dry seasons, mist the pile when you turn it. In wet climates, a loose tarp or lid can prevent waterlogging.
Turn the pile regularly
Turning introduces oxygen, which feeds aerobic bacteria - the fast-working decomposers responsible for heat. Aim to turn the pile every 1-2 weeks for active composting. Use a pitchfork to move material from the outer edges into the center, where temperatures are highest. A pile managed this way can reach 130-150°F internally, which helps destroy weed seeds and pathogens.
Recognize finished compost and harvest it
Finished compost is dark brown, crumbly, and smells earthy - similar to forest floor soil. Individual ingredients should no longer be identifiable. If the pile still contains recognizable scraps, let it continue. To harvest, either remove finished material from the bottom of an open pile or separate it through a simple wire screen. Apply 1-3 inches to garden beds and work it into the top few inches of soil.
Collect Leaves in Fall for Year-Round Browns
Fallen autumn leaves are one of the best carbon sources available, and they're free. Bag a supply in the fall and store them near your bin so you have browns on hand all winter and spring. Shredding leaves with a mower before storing them prevents matting and speeds breakdown when added to the pile.
Once your compost is finished and crumbly, consider running a soil test before applying it - knowing your existing pH and nutrient levels helps you apply compost where it will do the most good.
Troubleshooting Common Compost Problems
Most compost issues have a straightforward fix once you know what to look for:
| Symptom | Likely Cause | Fix |
|---|---|---|
| Bad smell (rotten eggs) | Too wet or too compacted | Turn the pile and add dry browns |
| No heat, no activity | Too dry or too much carbon | Add water and green material, then turn |
| Pest activity | Food scraps exposed on surface | Bury scraps in center; avoid meat/dairy |
| Pile shrinks but never finishes | Pieces too large | Chop or shred materials before adding |
Compost can be worked into raised beds, spread as a top dressing on lawns, or blended into potting mixes. For more on applying organic matter to lawn areas, the yard-by-season maintenance checklist covers when and how to top-dress grass throughout the year.
Don't Apply Unfinished Compost to Active Beds
Partially decomposed material is still biologically active and can tie up soil nitrogen as it continues breaking down, temporarily starving plants of a key nutrient. Always confirm your compost is fully finished - dark, crumbly, and earthy-smelling - before incorporating it into beds where plants are growing or about to be seeded.